Yesterday, Microsoft announced the availability of Windows Live Essentials 2012. But in our first post, we only provided you with the download links of English language version installers. We know many of you have asked for other language versions, and now, you can download any of 48 language versions from the official Worldwide Downloads page.
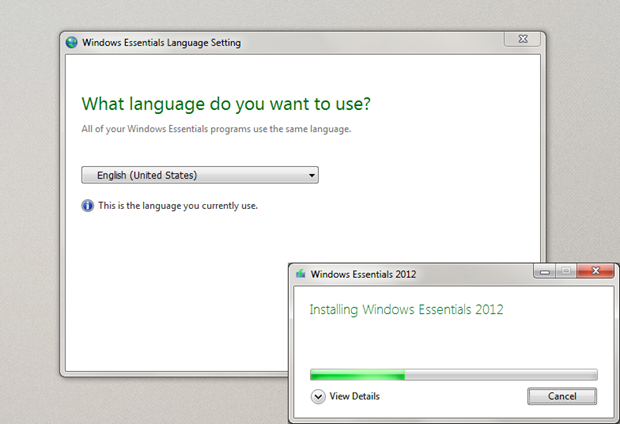
In case you have already installed English version and want to change the language you prefer, you can do it with Language Setting instead of installing the full installer again. Please try the following steps:
- Search for “langselector” in Windows 7 start menu or Windows 8 start screen, and click on langselector app.
(langselector app is located in the SYSTEM Drive:\Program Files\Windows Live\Installer\ or \Program Files (x86)\Windows Live\Installer\ ) - Click the drop-down arrow, and then click the language that you want to start using.
- If the language you select isn’t installed yet, make sure you’re connected to the Internet, and then click OK.
- The Windows Essentials installer will install the new language. This may take a few minutes. When it’s done, click Close.
- Restart your Windows Essentials apps to see the new language.
You may remember that Windows Live Essentials 2011 also supports changing language. But note the Windows Essentials 2012 doesn’t provide Control Panel option shortcut any more.